CLD Farmhouse and Long Barn
This is the build of 2 Creative Laser Design kits, the New England Farmhouse and the Long Barn

The farmhouse in the packing.

Manual, is somewhat vague, pictures could be a bit bigger, better and more of them. It is however a pretty much straight forward build.

The contents include slot and tab walls , all stripwood needed, roofing material and laser cut doors and windows.

The doors and windows do not have peel and stick so they are glued together.

I braced the walls and then glued them together.

Windows and doors placed before painting, the whole structure will be faded white so I don't need to paint windows and such separately.

The AA battery just to show the size of the structure.

A wash of A&I applied. I'm gonna let this dry and then spray it white, in the meantime I will start on the Long Barn

Packaging of the Long Barn, comes in a box a bit safer for the long parts.

The manual is like that of the farmhouse, could be lots better.

The contents, tab and slot walls , roofing and stripwood.

Some parts of the walls have to be cut away and then turned inside out , this will resemble concrete foundation.

Bracing the walls , this is extra bracing , the kit also has bracing that should be placed at exact heights and places to support the roof an d other parts.

Walls treated with a wash of A&I

I don't like what the windows , they are just holes in the walls and some acrylic glazing is provided to glue behind those holes, no trimming provided and no real windows , this kit could really use some lasercut windows like the farmhouse has. So I decided to put little doors/shutters in stead of the holes.

Some of the holes filled with a shutter, some left open to have open shutters placed.

Planks to detail the shutters a bit, used a piece of styrene that I stuck transfer tape to and then cut the tiny strips from that.

One of the ends with the detailed doors and shutters.

The barn after several sprays of white primer from the dollar store, the photo makes it look much whiter then it is , in real the A&I comes through the paint giving it a slightly weathered look, a bit like a whitewash.

Spine and girders for the roof, I think I will have to put in an interior now if I want one.

The farmhouse in the same whitewash paint job.

Roof construction and some interior walls.

I didn't use the roof wood in the kit , it is wood made to look like a corrugated metal roof, to me that doesn't work, would be a lot better to have corrugated metal roof included in the kit. I'll be doing the corrugated roof myself and the base for this is styrene sheet. Here it is glued down, I use small bags filled with ballast ( or sand ) to hold it down. The bags confirm to the shape of the roof.

Shingles sponged with 4 different colors , I do this before installing so there is no pattern in the roof. Just cut them and then mix and install.

The roofs with the shingles applied, now for some drybrushing and maybe some powders.

I still had the barn roof to do , but had to wait for shingles from RSLaser to get in.
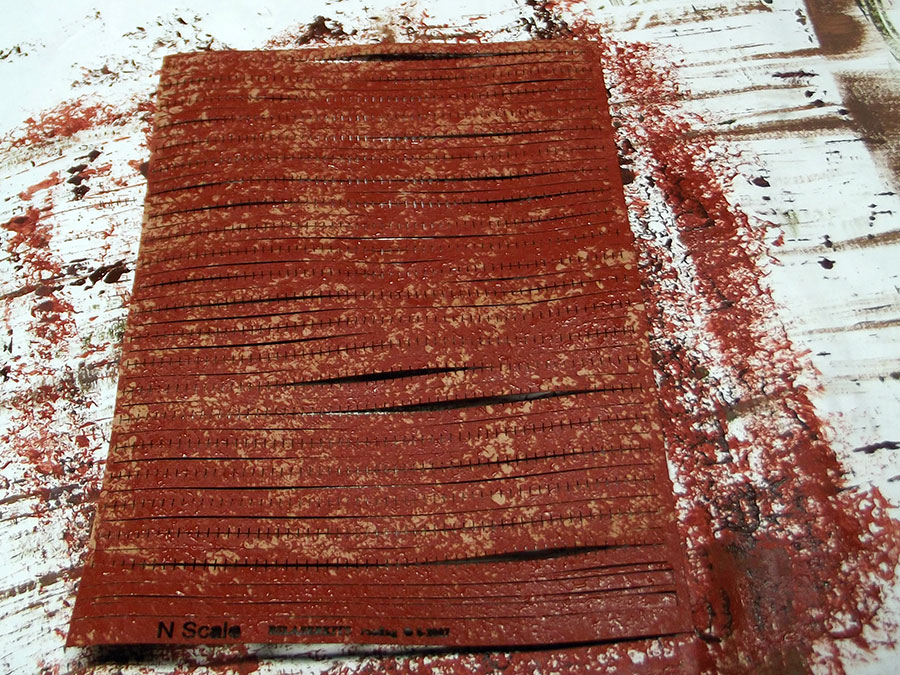
Painting the shingles with a sponge and first Sienna and then Dark Brown.

Ready for installing.

Started installing the rows of shingles, lots of rows of shingles. I use transfer tape to glue these down.

Finished roof , some dry brushing with sand colored acrylics to highlight.
