Building a Control Panel
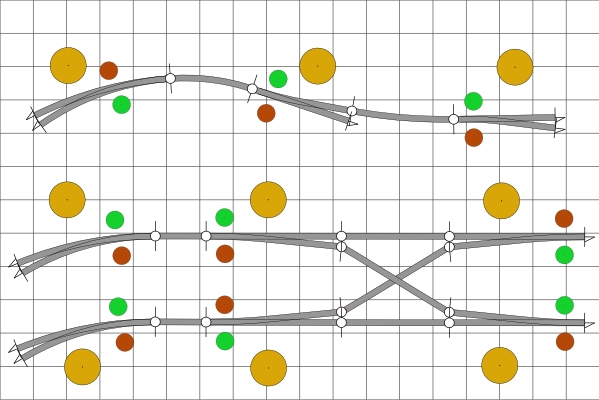
First I took the track plan I have built in AnyRail , just the part which this control panel will control. I took out the straight track parts to compress the plan so it would fit on a 30x20cm panel. I then printed this.

I cut 30x20cm pieces out of white styreen and clear acrylic, then with the trackplan as guide I drilled 4mm holes for the LED's and 6mm holes for the DpDt switches

Using 5mm decorative tape used for pinstripes on cars I made the trackplan on the white styreen. I didn't like the looks of this , so the next foto the trackplan looks different.
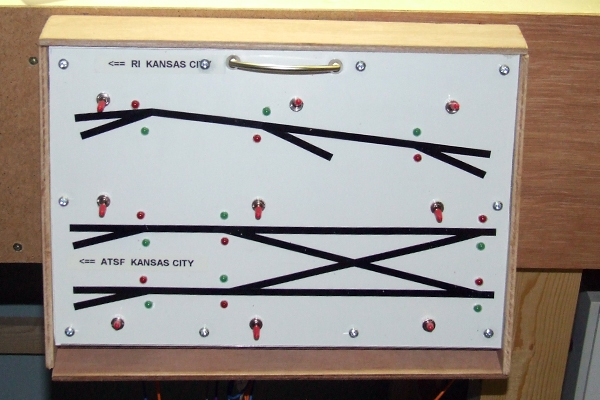
I then mounted the white and clear to a wooden frame, then stuck the LED's and Switches through the panel. Now to connect the LED's and switchesto the tortoises I use for the turnouts.

A picture of the inside with cables to the Tortoises

The control panel mounted to the facia with hinges and magnets to keep it closed.
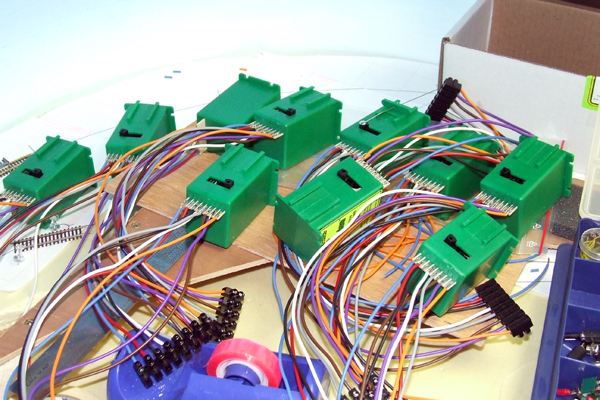
These are the Tortoises , I already have all the connections cabled so when I want to connect power frog and/or signs it can easily be done from underneath the layout.

The control panel for Manhattan Kansas