Clay Center Tower
N-Scale Architect Alto Tower , Clay Center Tower on my layout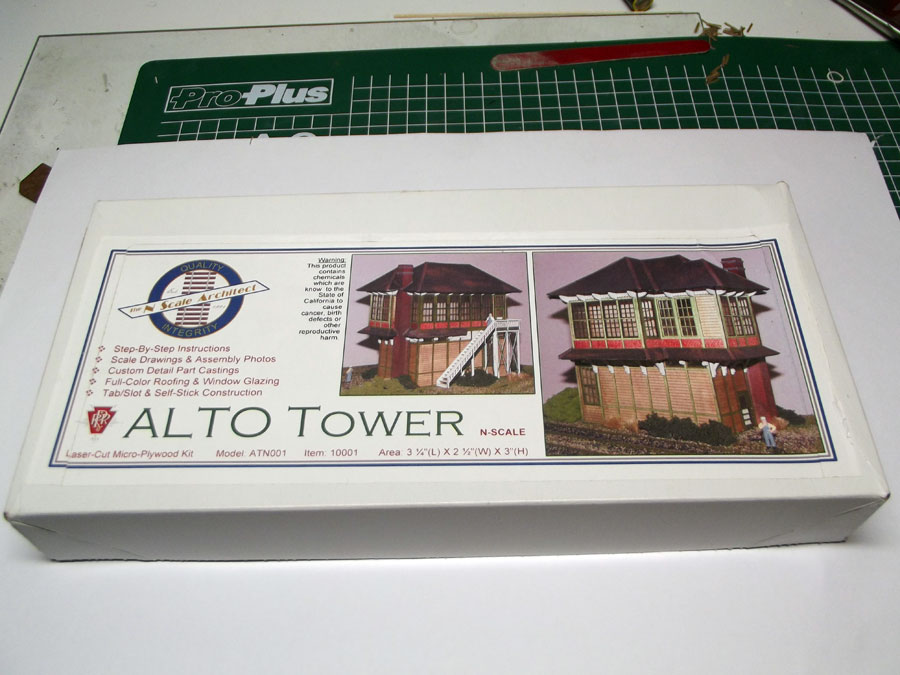 The kit comes in a sturdy box, essential because the parts are really fragile. The structure is prototypical for the Pennsylvania RR but I like it so much on my layout it will be the tower for the Rock Island yard at Clay Center.
 Painted in Rock Island Maroon and DRGW Cream, the walls are lasercut wood, the trims , doors and windows are lasercut with peel and stick backing ( very useful in N-scale ).
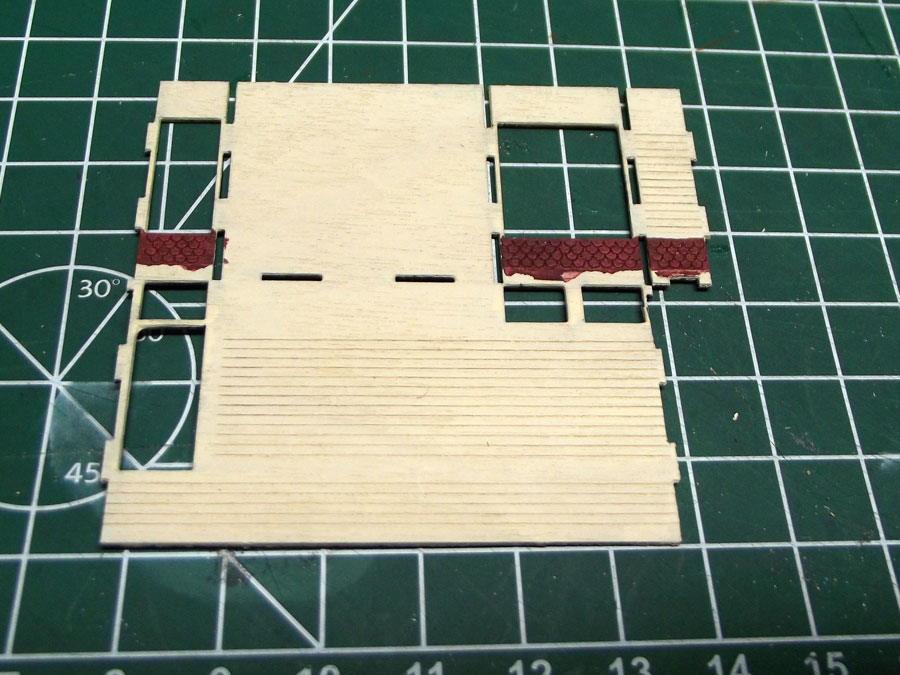 The shingles on the side painted Maroon , I used masking tape but it bled through, not a problem because the part that bled through will be covered by trim.
 All the trim parts and doors and windows.
 It takes a bit of patience but the trimming in place gives a nice result.
 The 3 pieces that make up the overhang.
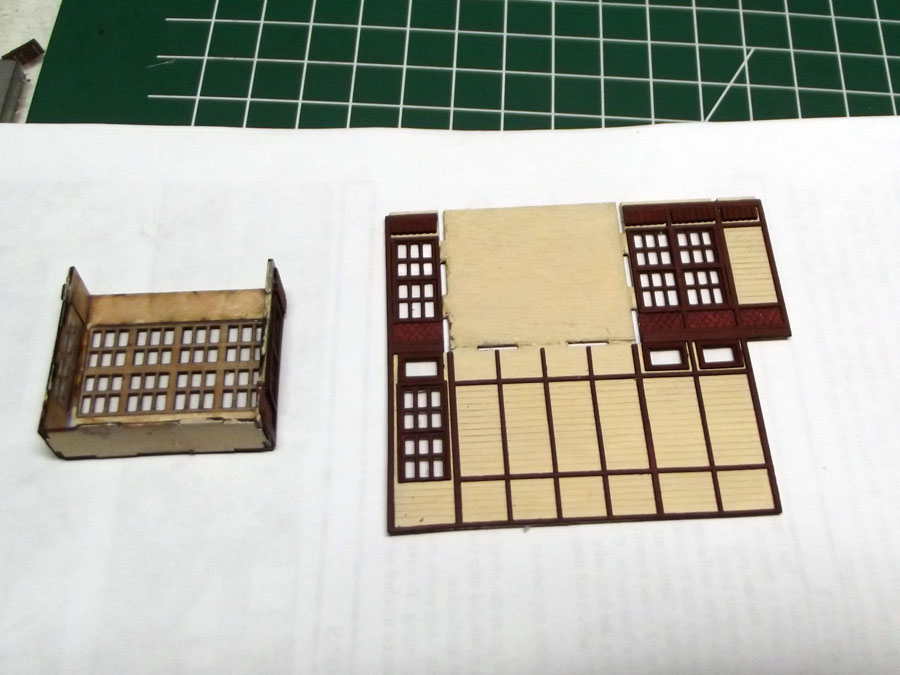 Glued together with the floor installed , let to dry.
 While the glue on the overhang dried I made up an other wall.
 Overhang installed on the first wall.
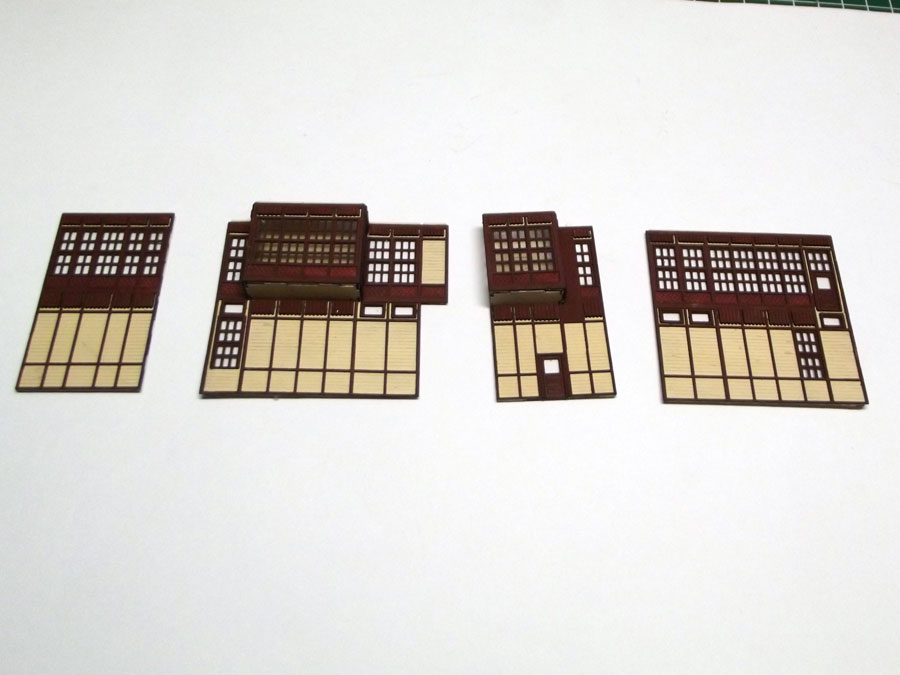 All 4 walls ready for assembly , a lot of small details that really make this kit a great one.
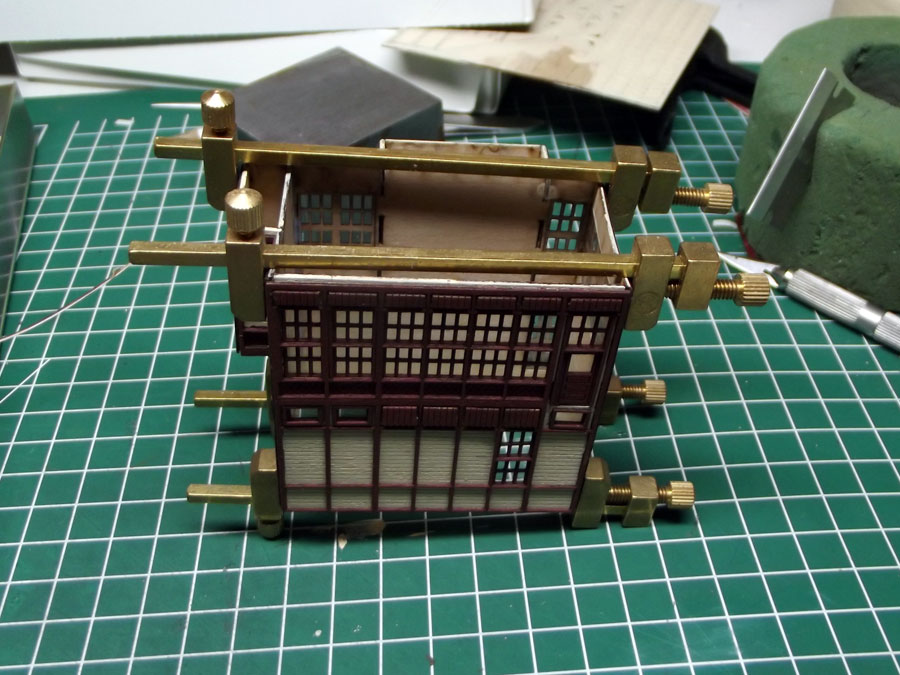 Assembling the 4 walls.
 Roof assembly, using my magnetic tray and steel blocks to keep it square.
 4 walls assembled and some triangles to help keep square added in the corners.
 Glued the brackets under the bay windows.
 And under the overhanging roof parts.
 Started shingling the roof with the printed shingle parts, not sure I will keep this , I think better shingles or tar paper roofing would look better.
 Finishing off the overhanging roof.
 Instead of using the roof caps and gutters in the kit ( they have to be glued and are to small to do that neatly ) , I painted a piece of masking tape Tamiya Nato Black and cut strips off that.
 Much easier to apply and looks just as good. I will touch up everything afterwards.
 The same tape fixed to the overhang.
 The printed overhang roofing applied.
 Roof assembled.
 This is how it looks before the caps on the overhang.
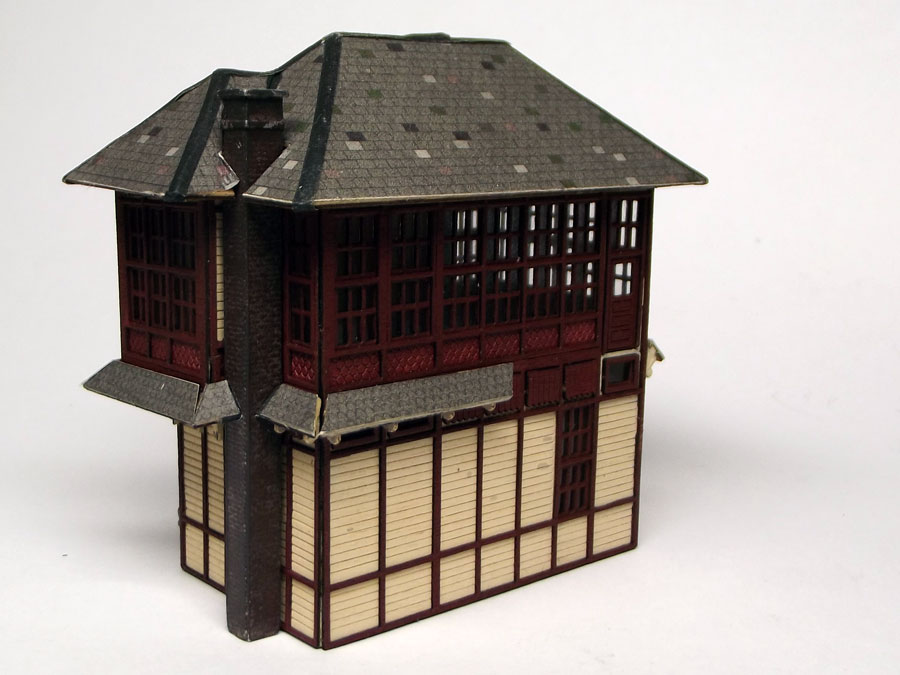
 And this is after the caps on the overhang are applied., covers up the gaps quite nicely.
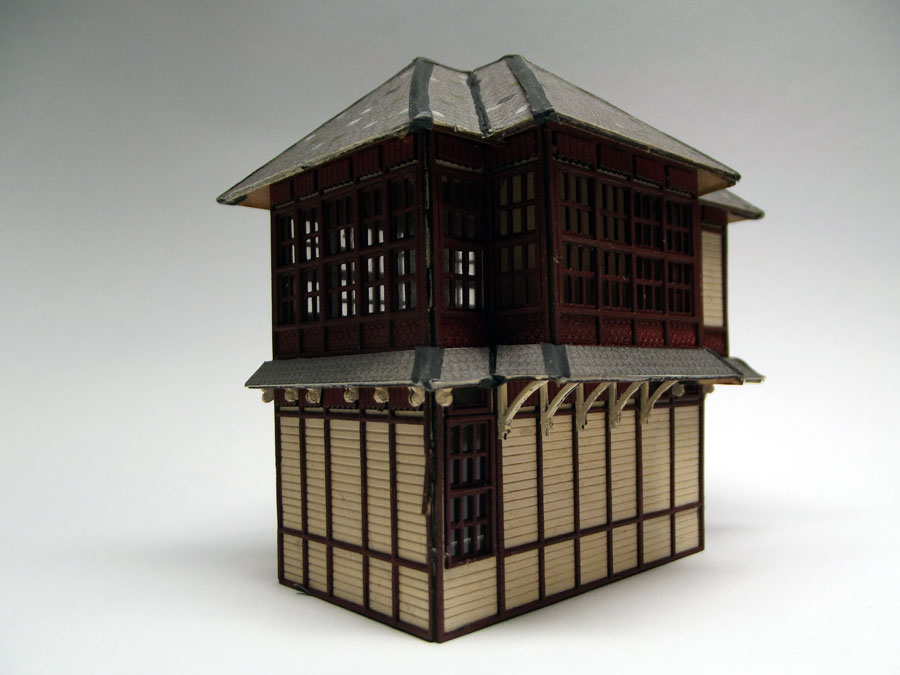 The close ups show exactly what needs to be touched up.
 Only these little brackets to go, then the stairs and some weathering.
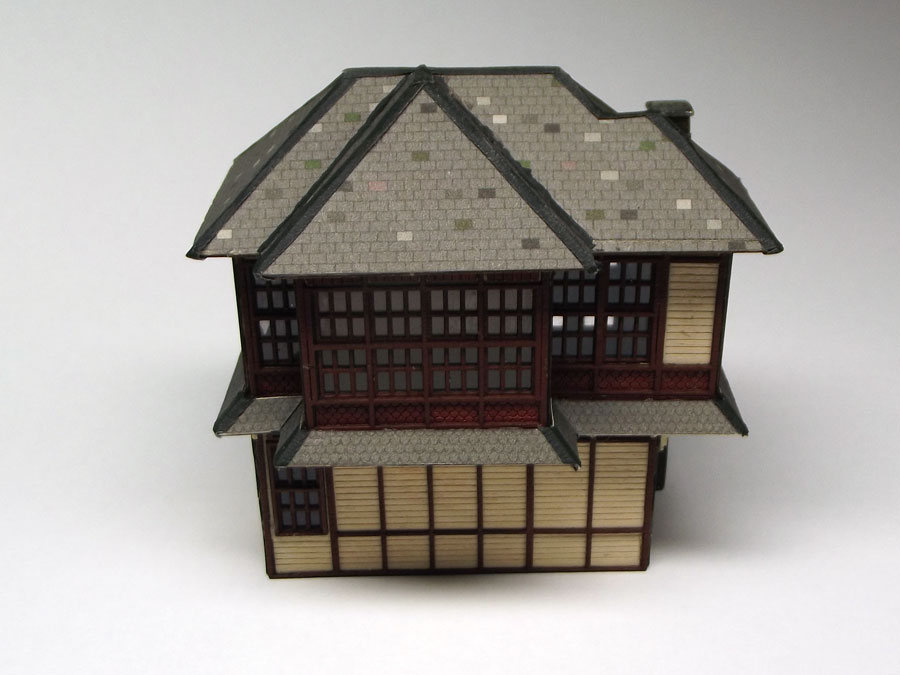
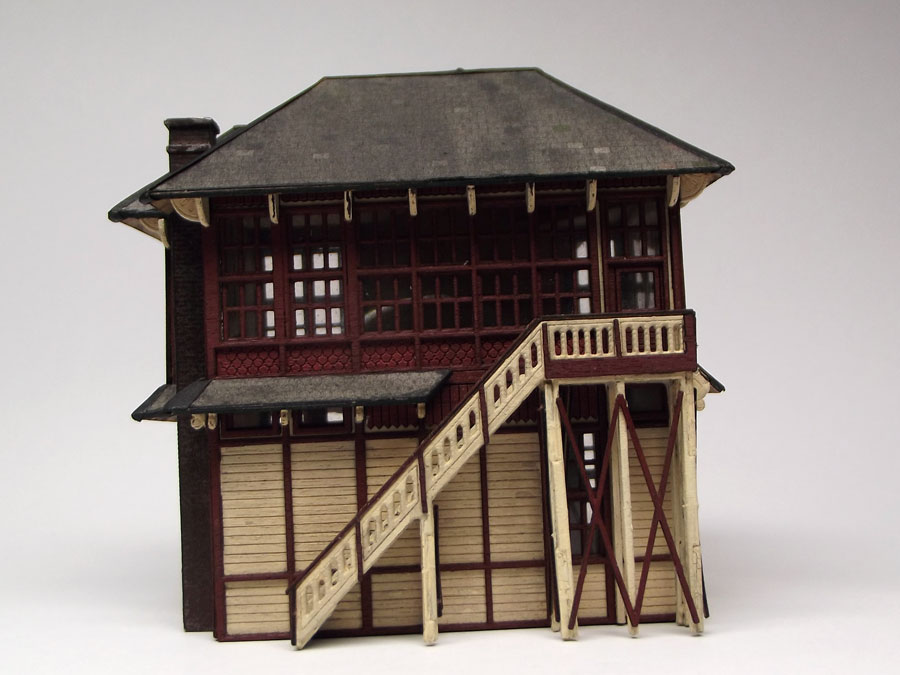 Stairs assembled , roof done with some powders and dullcote, and the walls with some A&I
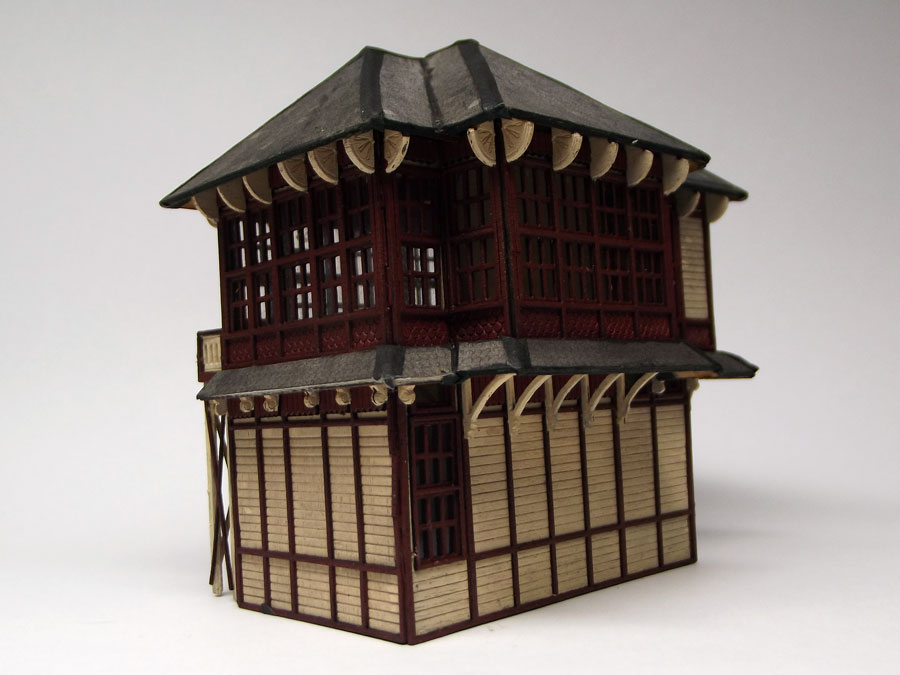
 Some more of the finished structure, now the yard to put it on.